As a Global Administrator or Publisher, you can add a Task or Event directly to the Catalog.
Access Level: Publisher or Administrator
This article is intended for users with Publisher or Administrator access in Suitable. If you don’t have one of these roles, some of the steps outlined below may not be available in your account.
Ineligible Roles: Student, Contributor, Advisor
To select the appropriate activity type, you may want to know the difference between a Task and an Event:
- A Task has three validations: a self-guided reflection, ePortfolio submission, and/or survey (you can require more than one task validation).
- An Event has one validation: smart code to be scanned via the mobile app.
To create a Task:
1. Select Activities on the left-side toolbar and click Create a new activity in the top right corner.
2. Choose Task as the activity type and select Next.
3. Add the activity's title and description, the only required areas of the Detail section. The description should also include the prompt, if a reflection is required, and/or the directions on what to upload, if a submission is required.
You have the option of adding:
- Resource link and Link Title: any link that will assist the student in completing the activity (e.g. a workshop recording).
- Incentive: great for in-person activities, e.g. free food, t-shirts, books, etc. for completing.
- Experience Tag(s): assist students in filtering activities and can also be helpful when pulling engagement reports. Add any relevant Experience Tags.
- Employers: if you are working with any employer(s), you can add them here.
Once the details are complete, select Next in the top right corner.
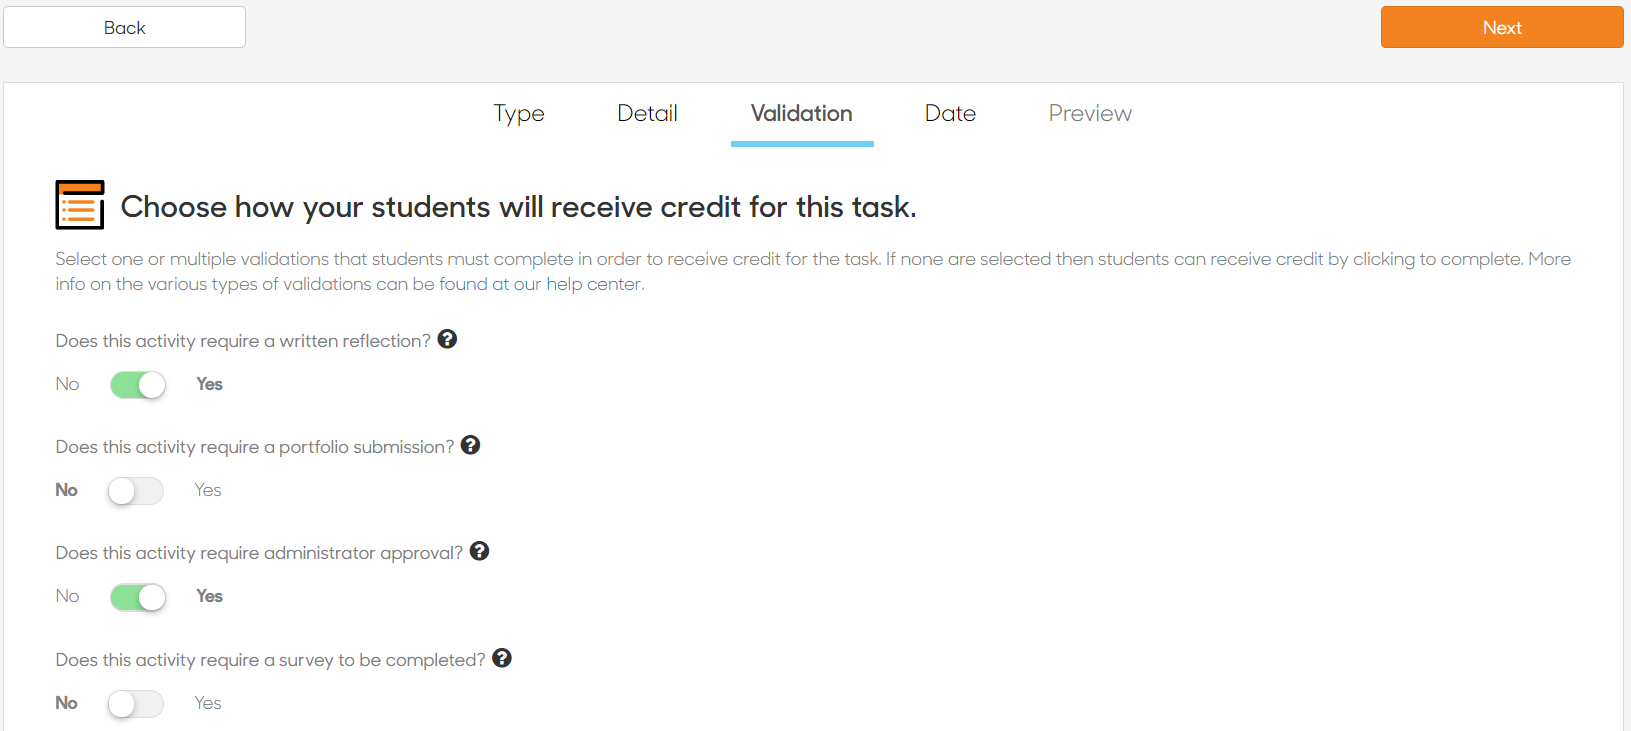
4. Within the Validation tab, you can choose how your students will receive credit. To require any validation, select the toggle below the question to Yes or No (all will automatically be toggled to No to start). You can require any of the below validations:
- Reflection: A textbox will be provided for students to reply to the prompt you added within the description.
- Portfolio Submission: You can require any type of document (e.g. PDF, Excel, video file, picture, etc.).
- Survey (if you have a Qualtrics integration)
- Administrator Approval: Requiring administrator approval means that the student's response must be reviewed and approved in order to earn credit.
*For this task example, we toggled to Yes for the reflection and administrator approval.
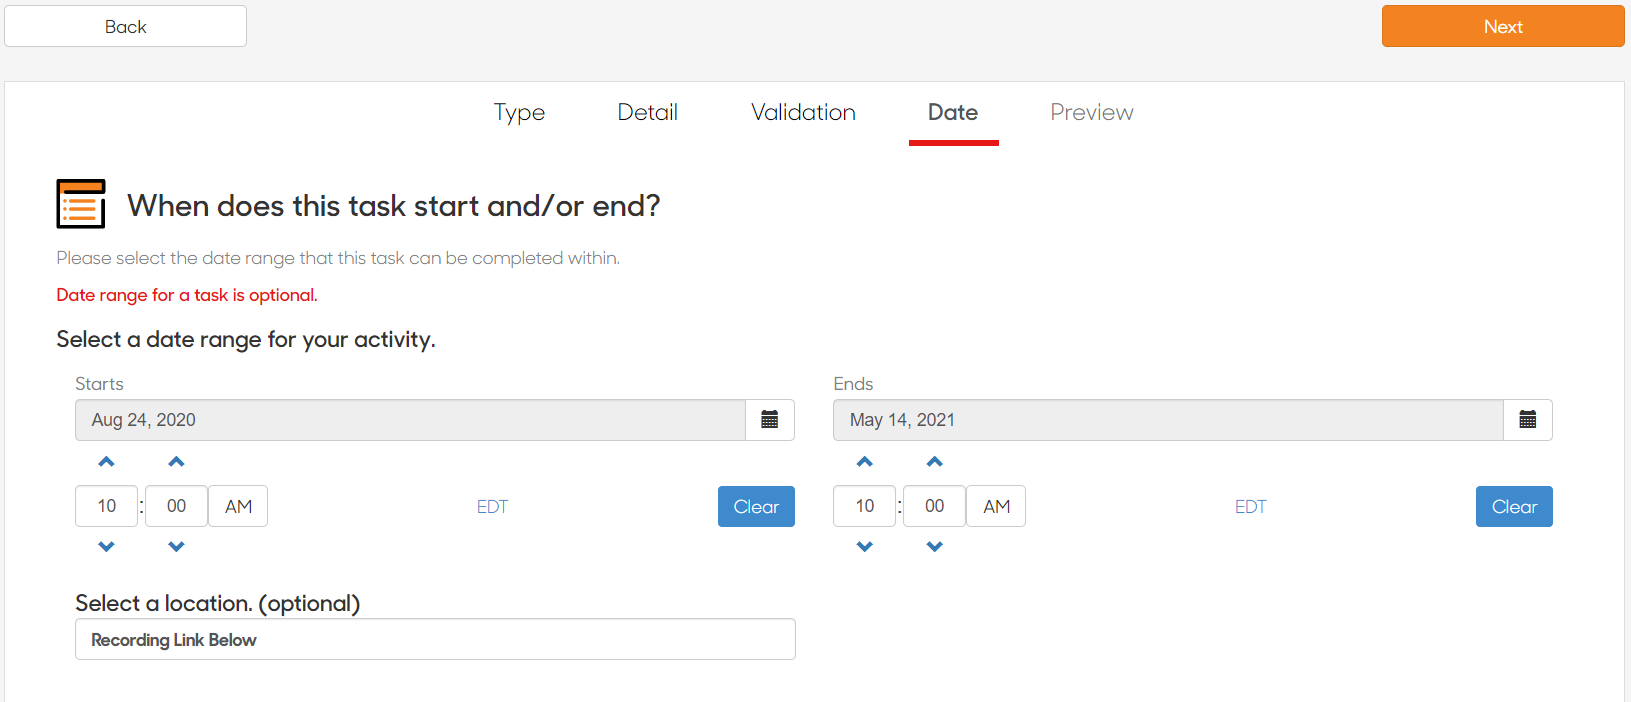
5. If you want to add a date or date range, you will add it to the Date tab. This is optional for Tasks.
- You can add a date range if you want the activity to be available for a certain period of time (e.g. a specific semester).
- If you need to change the time zone, you can click the time zone to the right of the time and select the appropriate one from the drop-down menu.
- A location is not required but if needed to complete the activity, please add it here.
- Once done, select Next.
*For this example, we added in a date range of the academic year.
6. Review your submission to ensure all information is accurate. Once complete, click Approve preview and post activity.
7. The activity will be added to the Recently Added tab of Activities.
Please read these help articles if you are interested in editing, pulling a completion report, or downloading submissions for your activity.
If you have additional questions, chat with us below or send us an email at support@suitable.co.
Comments
0 comments
Please sign in to leave a comment.